
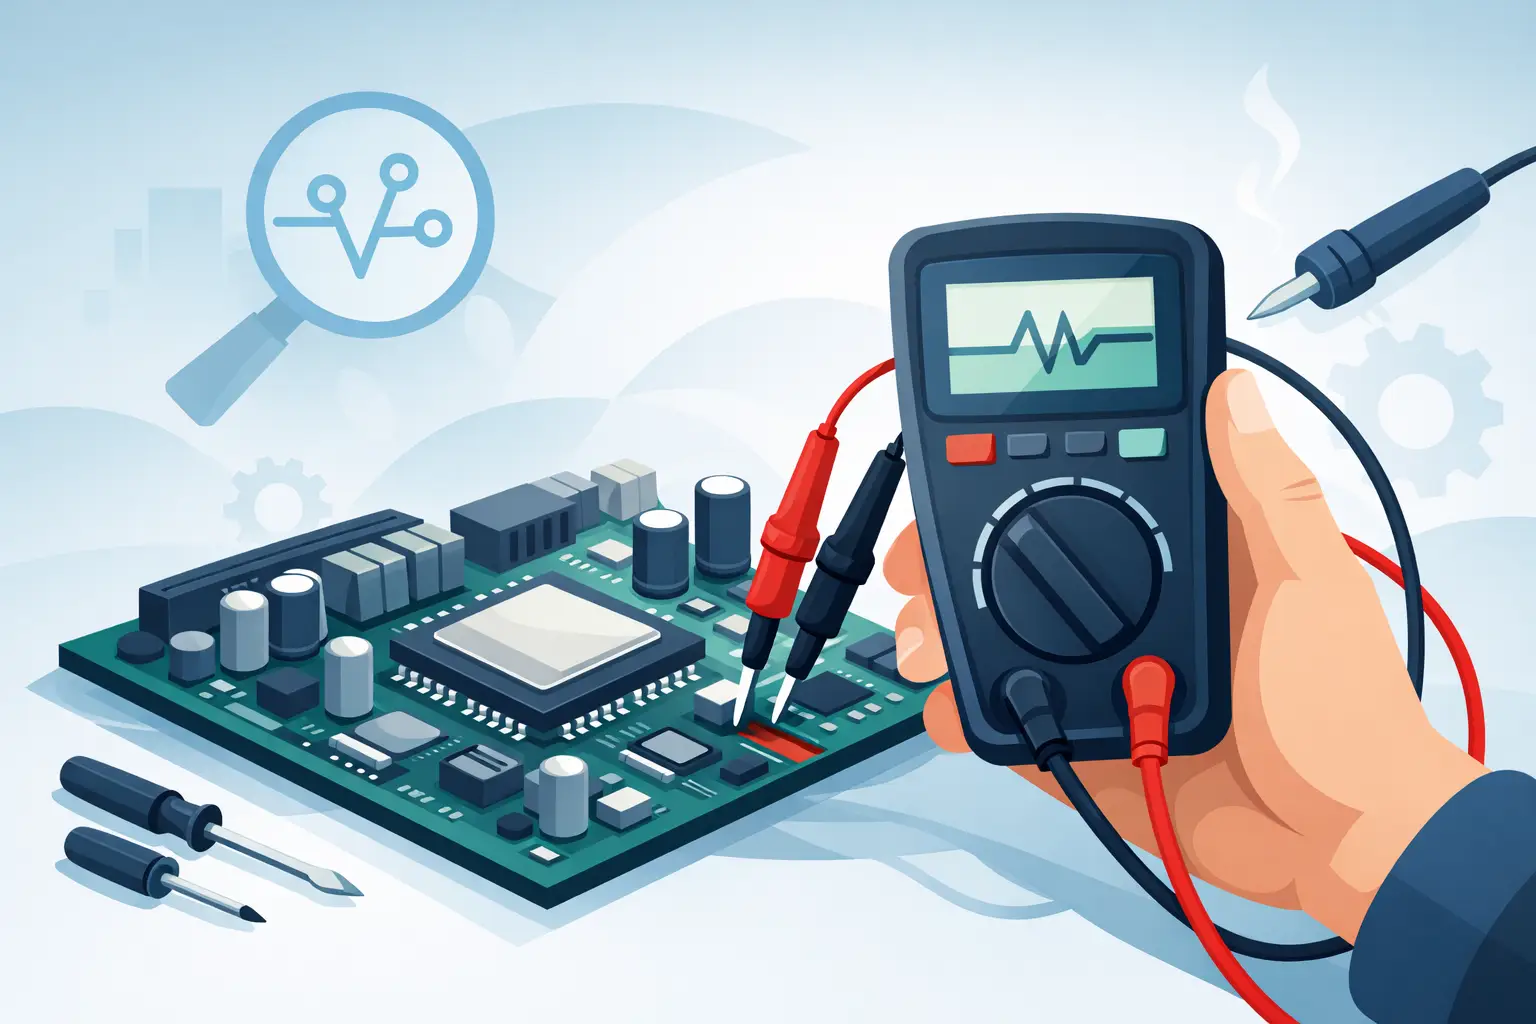
A motherboard that powers on, pulls current, and still refuses to POST often sends technicians in the wrong direction first. Before replacing controllers, BIOS chips, or power stages, it makes sense to look at the passive parts that quietly fail. That is where an esr meter for motherboard repair earns its place on the bench.
On modern boards, low-ESR capacitors support CPU VRM rails, memory power, standby circuits, and filtering around sensitive ICs. When ESR rises, the capacitor may still show a capacitance value that looks acceptable on a basic meter, yet the rail becomes noisy, unstable, or slow to recover under load. That mismatch is exactly why ESR measurement matters.
What an ESR meter actually tells you
ESR stands for equivalent series resistance. In plain bench terms, it is the small resistive loss inside a capacitor that should ideally behave like a low-impedance energy reservoir at AC. As that internal resistance increases, the capacitor wastes more energy as heat and filters less effectively.
For motherboard repair, ESR is rarely an academic number. It affects startup sequencing, ripple suppression, DC-DC converter stability, and transient response. A bad electrolytic or polymer capacitor can create symptoms that look like a failed MOSFET driver, a weak power rail, or even a firmware issue. Measuring ESR helps separate a tired passive component from a more expensive active fault.
That said, ESR is not a universal truth in isolation. A reading only becomes useful when you consider capacitor type, capacitance value, rated voltage, temperature, and the surrounding circuit. A good technician reads ESR as one data point in context, not as a one-number verdict.
Why an ESR meter for motherboard repair needs different strengths
A general-purpose ESR meter may work well enough on through-hole power supplies, but motherboard work pushes the instrument harder. Components are smaller, rails are denser, and in-circuit measurement is much more common. If the tool is slow, awkward, or inconsistent on low-value SMD parts, it becomes a bottleneck.
The first requirement is reliable low-value measurement. Motherboards use many capacitors with inherently low ESR, especially polymer types around CPU and GPU power sections. If the meter lacks resolution or stability at the low end, all the important readings start looking the same.
The second requirement is access. Traditional probes are workable on open boards, but once you move into packed SMD layouts, tweezer-style measurement becomes much more efficient. Being able to contact both ends of a small capacitor directly, without juggling loose leads, cuts test time and reduces slipped probes on live boards.
The third requirement is automatic operation that does not fight the user. On a repair bench, every extra setting slows diagnosis. A meter that automatically identifies the component and chooses the proper range is usually faster in real use than a menu-heavy tool with broader theoretical flexibility.
The specs that matter most
Accuracy matters, but motherboard repair is not won by headline accuracy alone. The more useful question is whether the meter stays consistent on small capacitance values and very low ESR readings. A calibrated instrument with stable contact geometry and repeatable measurement behavior is more valuable than one with impressive numbers that are difficult to reproduce at the bench.
Test frequency also matters because ESR changes with frequency. Capacitors in switching power applications behave differently depending on where they are measured. A meter designed for ESR work should use a test method suited to real capacitor evaluation, not just generic resistance measurement. When comparing tools, look beyond the word ESR on the label and check whether the instrument is actually intended for capacitor health assessment.
For motherboard technicians, in-circuit usability is another major factor. No ESR meter can ignore every parallel path, and there are always cases where lifting one leg or removing the part is the right move. Still, a good meter should make in-circuit screening practical enough to identify suspicious parts quickly before committing to rework.
Physical design is easy to underestimate until the bench gets busy. Compact, handheld meters with tweezer probes reduce setup time and make it easier to work around heatsinks, connectors, and dense SMD clusters. Ergonomics directly affect throughput when you are checking several capacitors across multiple rails.
ESR alone will not diagnose every motherboard fault
This is where expectations need to stay realistic. An ESR meter is highly useful, but it is not a replacement for rail resistance checks, oscilloscope work, thermal inspection, or schematic-based diagnosis.
If a rail is hard-shortened by a failed MOSFET, ESR measurement is not the first tool to reach for. If a ceramic decoupling capacitor has cracked and gone low resistance, an ESR meter may not be the best instrument to isolate it. If a buck regulator is unstable due to gate drive or feedback problems, the capacitor reading may be perfectly fine while the circuit still fails.
Motherboard repair is layered. ESR testing is strongest when the symptom suggests filtering or rail stability issues, especially on older boards or on sections known to run hot. It is also useful when replacing capacitors preventively and verifying whether removed parts were actually degraded.
Choosing between traditional ESR meters and tweezer-style LCR tools
For older repair workflows, a dedicated ESR meter with wired probes may seem like the obvious choice. These instruments can be effective, especially for larger capacitors and power supply boards. But motherboard work often benefits more from a compact LCR/ESR tool that combines automatic component identification with direct SMD access.
That is the practical advantage of tweezer-style instruments. Instead of switching tools to identify a resistor, check a capacitor, and verify ESR, the same handheld device can often do all three with minimal setup. For technicians handling mixed diagnostics, that saves measurable time.
A product family such as LCR-Reader fits this workflow because it is built around fast, direct contact measurement on SMD components. The value is not just portability. It is the combination of automatic mode selection, stable handheld use, and the ability to move quickly across dense board layouts without turning basic measurement into a bench project.
There is a trade-off. Benchtop instruments may offer wider configurability, external fixtures, and deeper manual control for lab characterization. If your job is production analysis or failure analysis beyond repair, that extra control can matter. For day-to-day motherboard troubleshooting, speed and access usually matter more.
How to use an ESR meter on a motherboard without fooling yourself
Start with the board unpowered and discharged unless your specific procedure and instrument support something else safely. Residual charge can distort readings or damage the meter. This sounds basic, but it is still one of the most common causes of bad data.
Next, compare capacitors in similar positions. On a VRM output bank, neighboring capacitors should generally read in a similar range if they are the same type and value. One part that stands noticeably apart deserves attention. Absolute ESR numbers help, but comparative diagnosis on identical placements is often faster and more reliable.
Watch for parallel components. Motherboards frequently place multiple capacitors across the same rail, which can pull the apparent ESR lower in-circuit. A suspiciously good reading is not always proof of a good component. If the fault signature still points to filtering or instability, isolate the capacitor by removing it or at least lifting one side when practical.
Use ESR alongside capacitance, not instead of it. Some failed capacitors lose capacitance dramatically. Others retain capacitance while ESR rises. Checking both values gives a more complete picture.
Temperature can also influence behavior. A board that fails only after warm-up or only when cold may contain a component that drifts outside acceptable performance under that condition. If a capacitor looks borderline, repeating the test under controlled thermal change can reveal more than a single room-temperature reading.
What to look for before you buy
If you are selecting an ESR meter for motherboard repair, prioritize low-ESR sensitivity, true SMD usability, repeatable contact, and automatic operation that speeds work instead of adding menu steps. Calibration support and published specifications matter because they tell you whether the instrument was engineered as a measurement tool or merely marketed as one.
It also helps to think about your actual repair mix. If you mainly work on desktop and laptop motherboards, compact tweezers are much more productive than long leads. If you move between boards, cable assemblies, and larger power electronics, you may want a meter that can expand with accessories or cover broader LCR functions beyond ESR. LCR-Reader line of tweezer meters in addition to benchtop accuracy offers many additional features: AC/DC voltage and frequency measurements, LED/diode test, signal generator and even oscilloscope.
An additional asset would be Analog Signature Analysis (ASA) tool available on LCR-Reader R2, R3 and MPB models. The LCR-Reader models with ASA capabilities allow engineers and technicians to perform quick, visual, in-circuit diagnostics without the risk of shorting a live board.
Comparative Testing: You place the tweezer probes across two points on a suspected faulty board and compare the (V-I) waveform to a “golden” reference board.
Symmetry Check: Because many integrated circuits (ICs) have repeating pins (e.g., multiple outputs), you can compare the signature of a known good pin to a suspected bad pin on the exact same chip.
Fault Finding: If the signature of your target board noticeably differs (e.g., an open circuit becomes a flat horizontal line or a short circuit becomes a vertical line), it immediately highlights a failure.
Cost should be evaluated against troubleshooting time, not just purchase price. A cheaper meter that gives uncertain readings, struggles on low ESR, or slows you down around small SMD parts can cost more over months of repair work than a better instrument bought once.
The right meter does not need to be flashy. It needs to be consistent, fast, and trustworthy when a board fault is hiding in plain sight. On a busy bench, that is what turns measurement into repair progress.
A good ESR meter will not replace experience, but it will make your experience more decisive. When the symptom points toward unstable rails and questionable filtering, having the right instrument close at hand often saves the board, the time, and the guesswork.